
Now, if the admin allows the vendor to alter the settings then they can configure their own settings. If the vendor navigate to Vendor Dashboard–> Settings,
There he/she will find the Delivery Time settings. The Vendor settings are exactly like the Admin settings.
Vendors can select individual Opening times, Closing times, Time slots, and Order per slot for each delivery day. They need to click the Add Hours button to create multiple time slots.
Lastly, click Update Settings to finish.
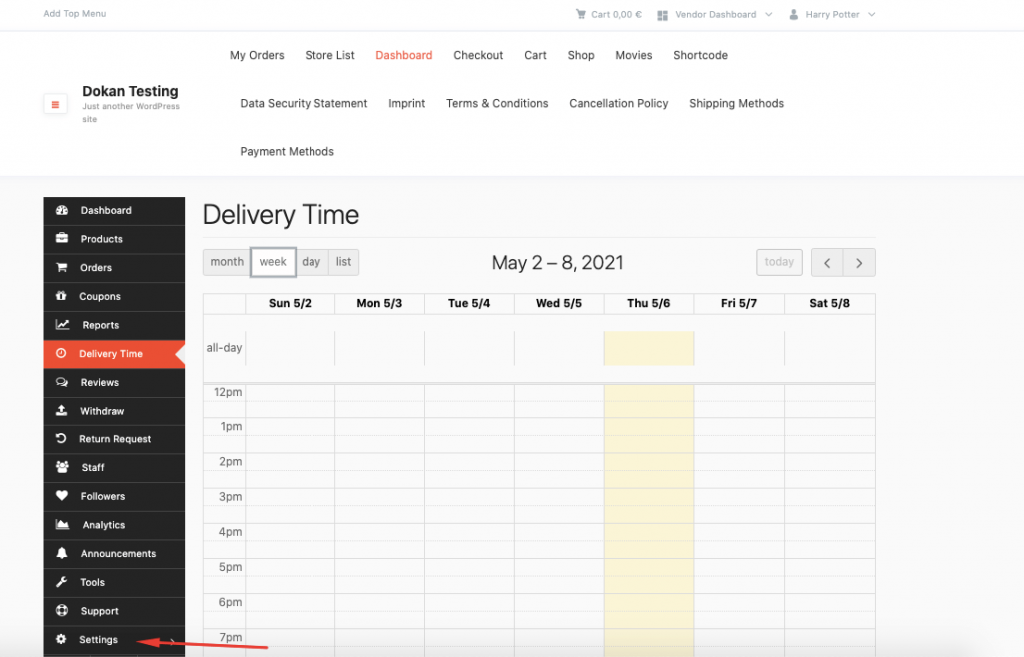
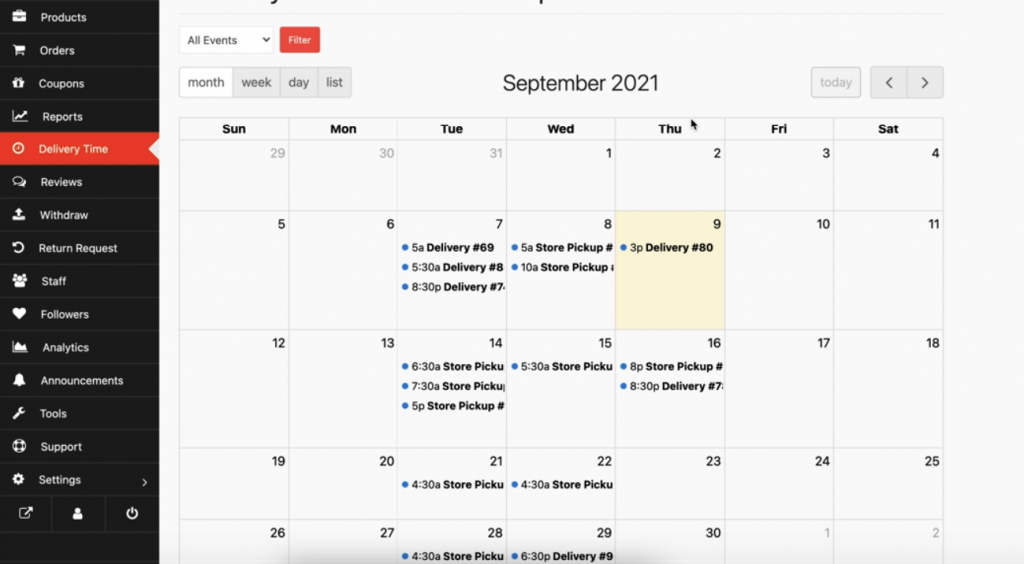
There is option in the Vendor Dashboard, which will enable the vendors to see the dates and number of deliveries on that particular date. Just select the Delivery Time option and they can see all the details.
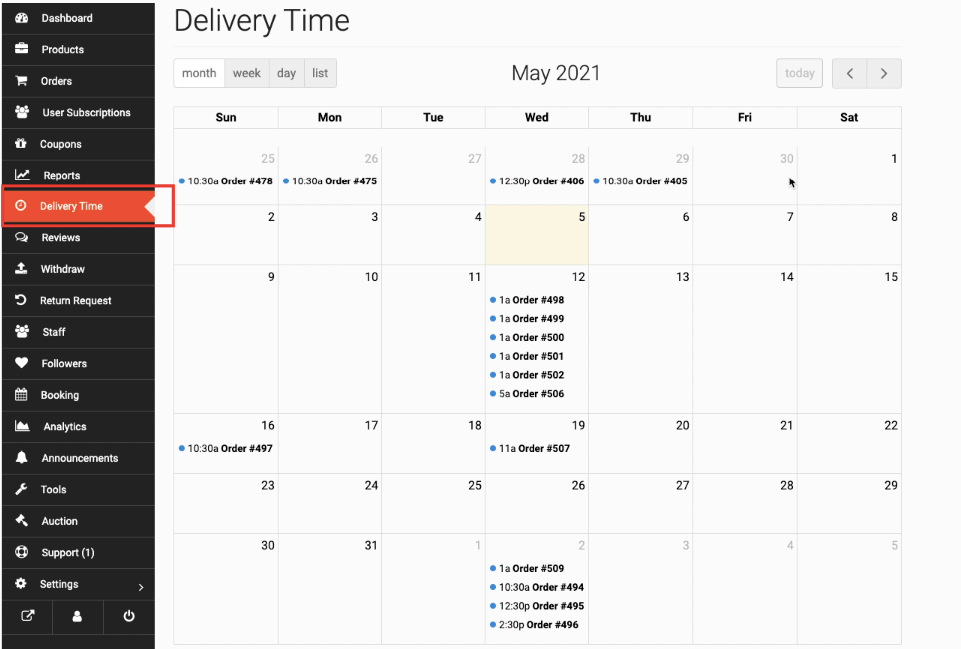
They can also filter the orders by month, week, day. They can see the list view as well

And when they click on an order they can see the order details as well.
Vendors can update the Delivery Date and time slot if they want. Also, they can change the delivery support as well. If the customer chooses Store pickup, the vendor can change it to Delivery.
After updating, it will be added to the Order note.
Instead of home delivery, customers can now pickup their order from the store using the Store Location feature. So, if the customer wants they can pickup their order from the nearby location.
Vendor Settings
To enable the store pickup feature, the vendors need to enable the Store Pickup option or the Home Delivery option or the vendor can enable both.

Setup Store Location
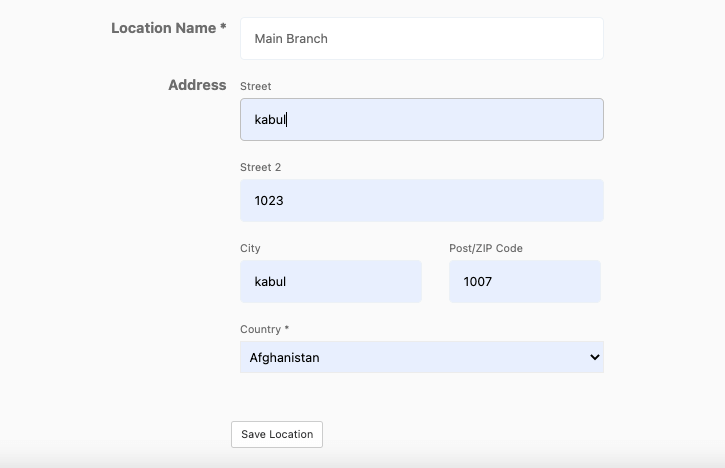
In order for the customers to pickup the order, vendors need to set up their store location. Visit vendor dashboard–> Settings. There the vendors can set up their store location.
And, if the vendors want they can add multiple locations if they have different branches in the country or worldwide. They need to enable the “Store has multiple locations” option.
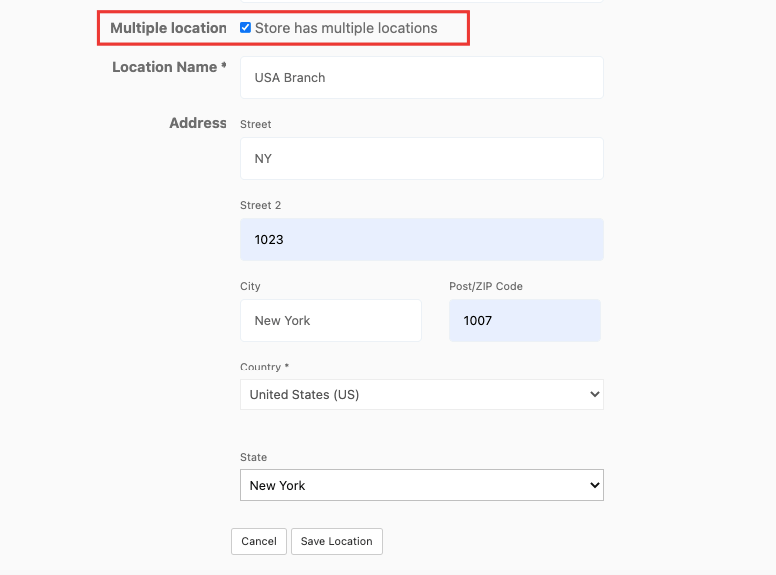
Click on Add New Location button,
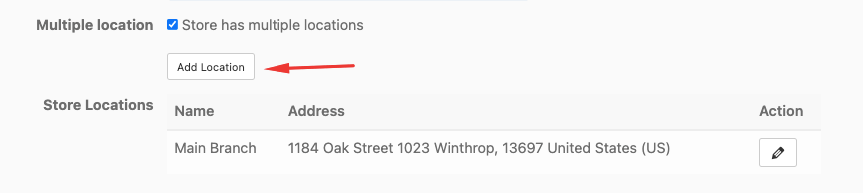
Give the location a name (that will appear at checkout), address. Then click on the Save Location button.
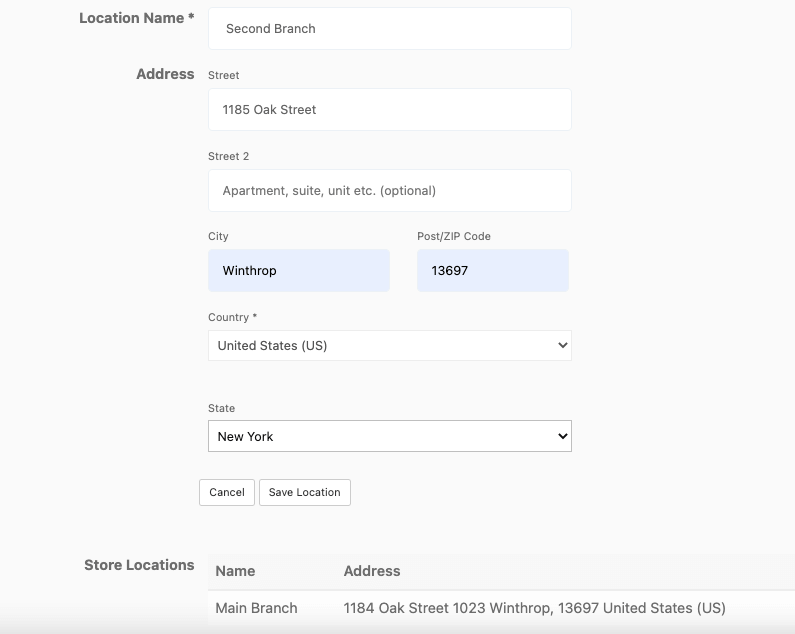
You will see that the second location has been added. The first location is the default location of your store.

Address Verification
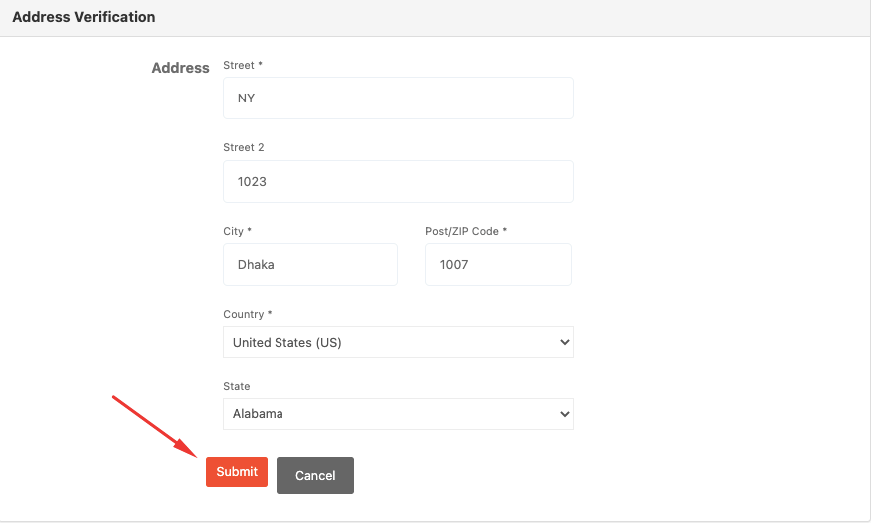
Vendors can verify their default address using the Vendor verification feature. Just go to the Verification optio
n from the vendor dashboard. There click on the Start Verification button.

Add your address and click on the Submit button.
After approval, vendors will be able to see that their address is verified,
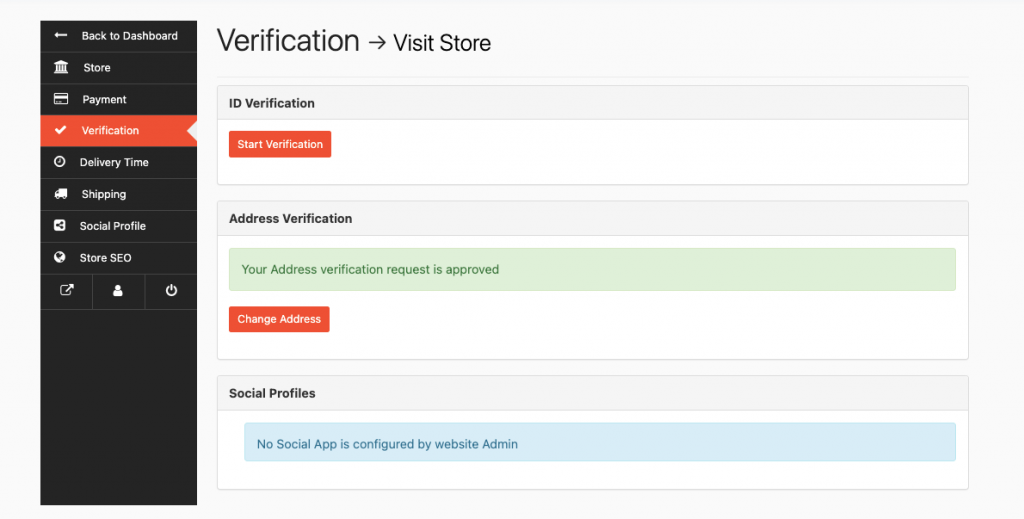
Then vendors will not be able to edit or delete the default store location,

Note: If the vendor wants to change the default address again, then the admin has to approve the address again and the verification status will be deleted.
We have added some enhancements to the Delivery calendar. Now vendors can see both Home Delivery and Store Pickup orders in the calendar.
Vendors can filter between Home delivery and Store Pickup,
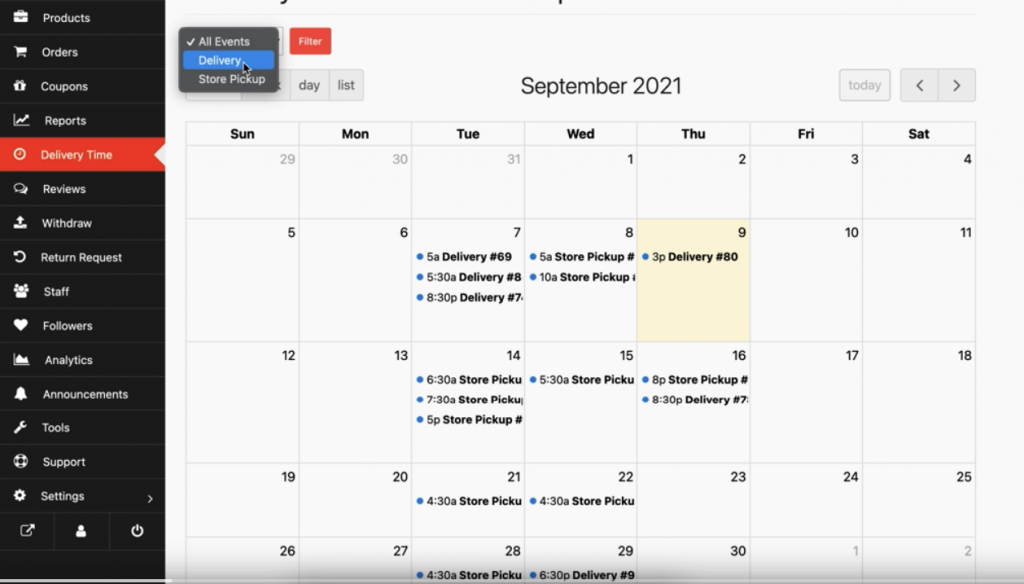
Vendors will see the filtered results,

And if the vendors click on the orders, they will see the details of the order.
![]()
